Converting an Apple Xserve Raid to a home PC/server
What and why?
It is a little while since I posted a case mod here, but a potential customer prompted me to take this on.
Alex from the US contacted me and asked if I could help him with an Xserve RAID mod. I thought “What?” and then Google told me what this was all about.
The Xserve Raid was produced by Apple during the period of 2003 to 2008 and is a dedicated RAID enclosure produced for the Xserve server range of products. You can read more about it here: https://en.wikipedia.org/wiki/Xserve_RAID but basically the case accommodates up to fourteen 3.5″ drives via fibre channel connections.
Alex wanted to convert this old chassis into a home server PC, but wanted to do it elegantly. He is already down the road with creating circuit boards which replace all the old Apple boards to let new SATA drives be used (the original case used old tech of course) and I applaud his meticulous and elegant approach to this. My role in his project is to create an interior which can potentially incorporate an ATX motherboard (or a micro ATX board) and to make a back panel and tray that is both functional and beautiful.
With projects like this I ask myself a few questions before taking them on:
- Do I have enough info already to take it on?
- If the answer to 1 is ‘no’ what would it cost me to help/ what can I reasonably charge the customer to make a profit on this?
- (and this is the most important question) Do I have time and am I interested?
Answers: 1. NO, 2. I don’t know!, 3. No I don’t really have time, but YES I am interested.
I found myself reading more about this case and realised it was not the usual server size – which tend to be really thin and incredibly deep – but was instead not too dissimilar to the Apple G5 if you laid it down sideways. The G5 is a design I know well and as I have room in the house for one more (!) and the cost of buying an old one was about £60 I decided to go for it and buy one so I could research the practicalities.
eBay Purchase
My kind of case appeared on eBay. It had a full set of disk caddies (7 ‘real’ caddies and 7 blanking caddies) and was priced right at £45 plus £15 carriage.
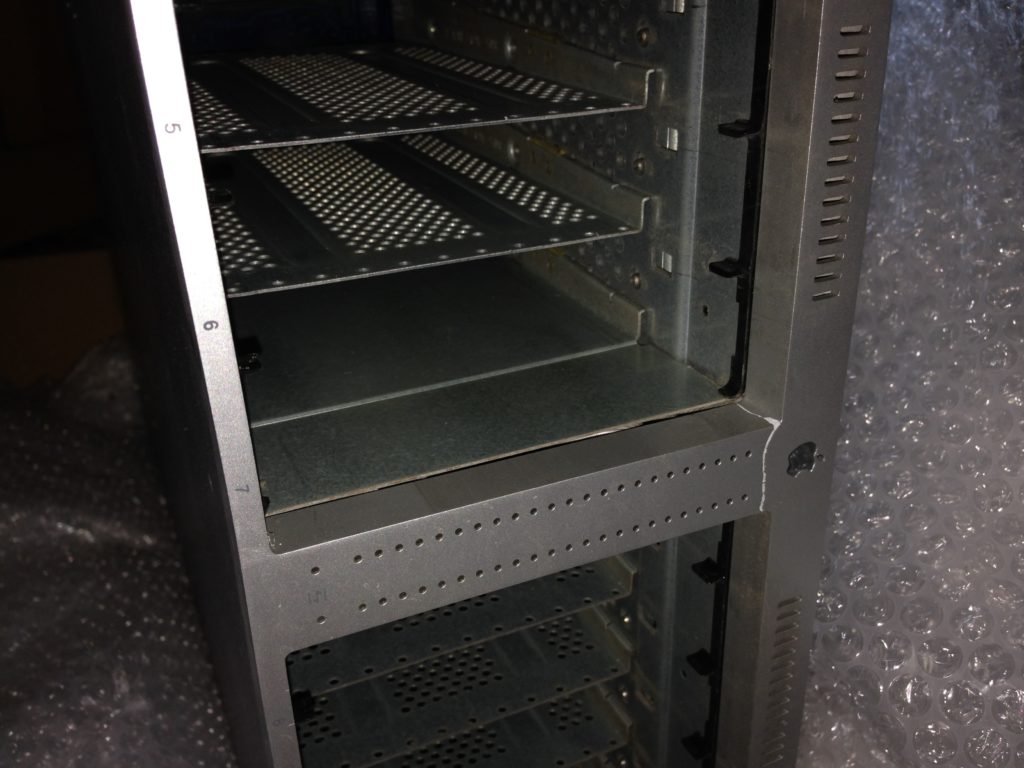
I clicked the Buy It Now and a few days later it arrived but was severely battered and had one blanking caddy less than advertised.
I was obviously disappointed but not overly surprised by the damage. These things when fully loaded weigh about the same as a small child and just one drop is enough to cause this type of damage.
Never mind, the case was a good price and the seller agreed to refund me £25 and this all helps with development costs! I was more disappointed by the missing drive caddy to be honest.
The analysis
The case is very easy to take apart. A few screws removes the front panel. Undo the other screws and off comes the lid of the case to reveal the interior.
Everything from the case just pulls out.
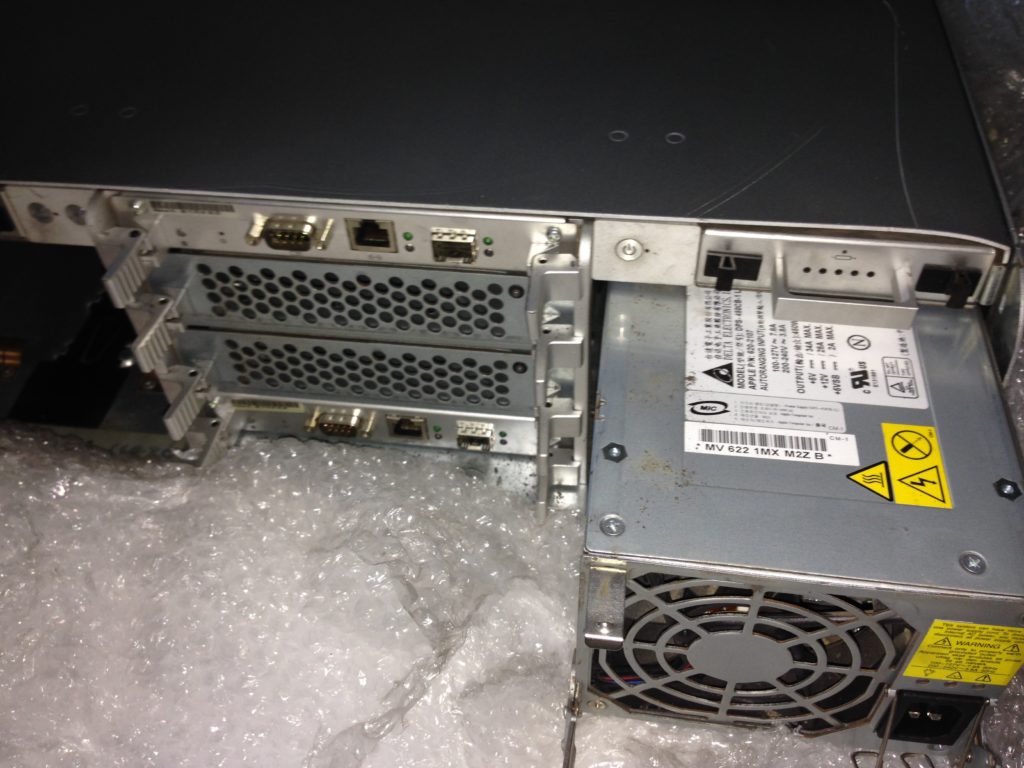
For the record, there are two power supplies (450W), two controller boards, two cooling modules and two back up batteries. Should anyone need any of these bits (batteries already sold) then let me know as I don’t need them!
Case stripping is initially easy as the hard drive cage and PCB just pop straight out. Then, to clear the rest of the case you need to drill out lots of rivets!
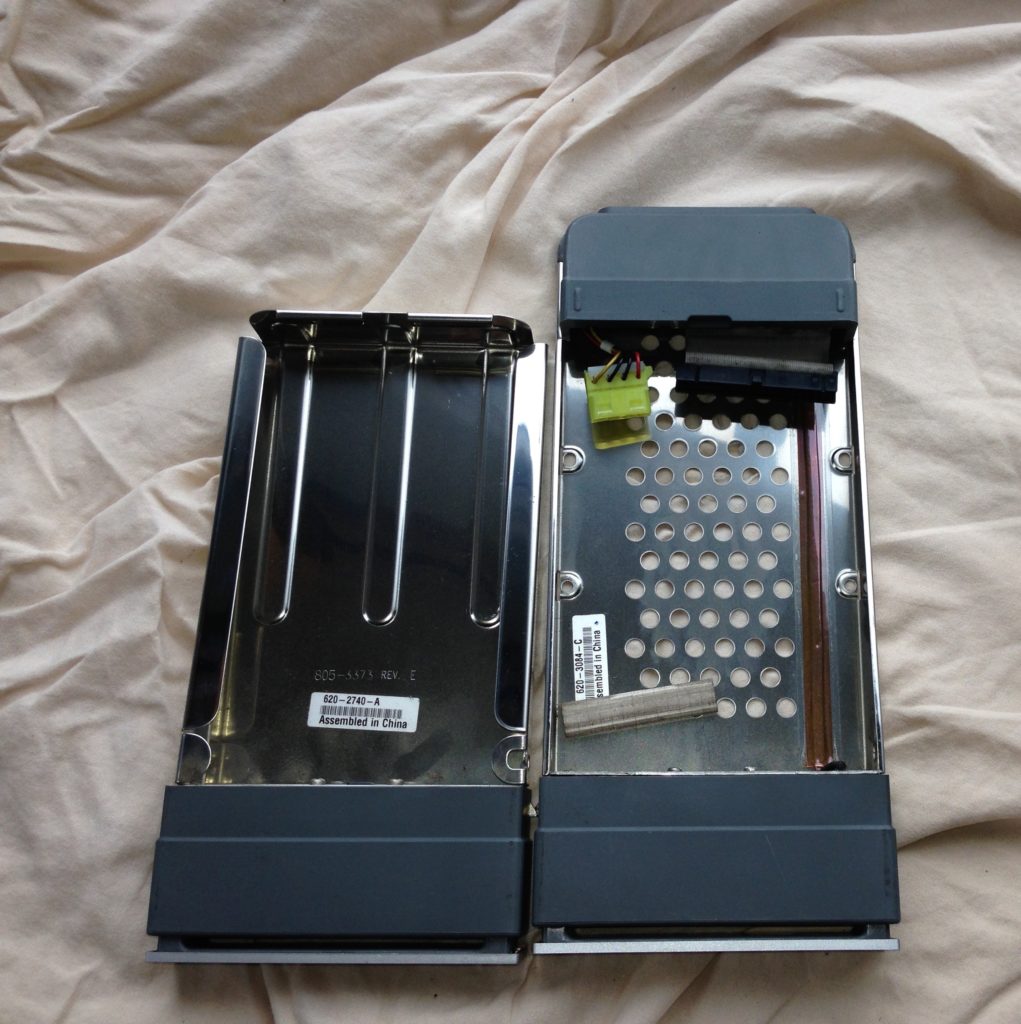
When Apple make something, it is true that they really engineer things well! The hard drive caddies are incredibly long…
On the left above you see a blanking caddy and on the right a full caddy. The latching mechanism for these (with handles etc) for each of these is at the bottom of the picture, the hot swap connector is at the top. The blanking caddy of course does not have the hot swap connector.
The hot swap connection part is about 3cm long and in my opinion is too long – but I guess Apple were not looking at their design in the same way as I am now!
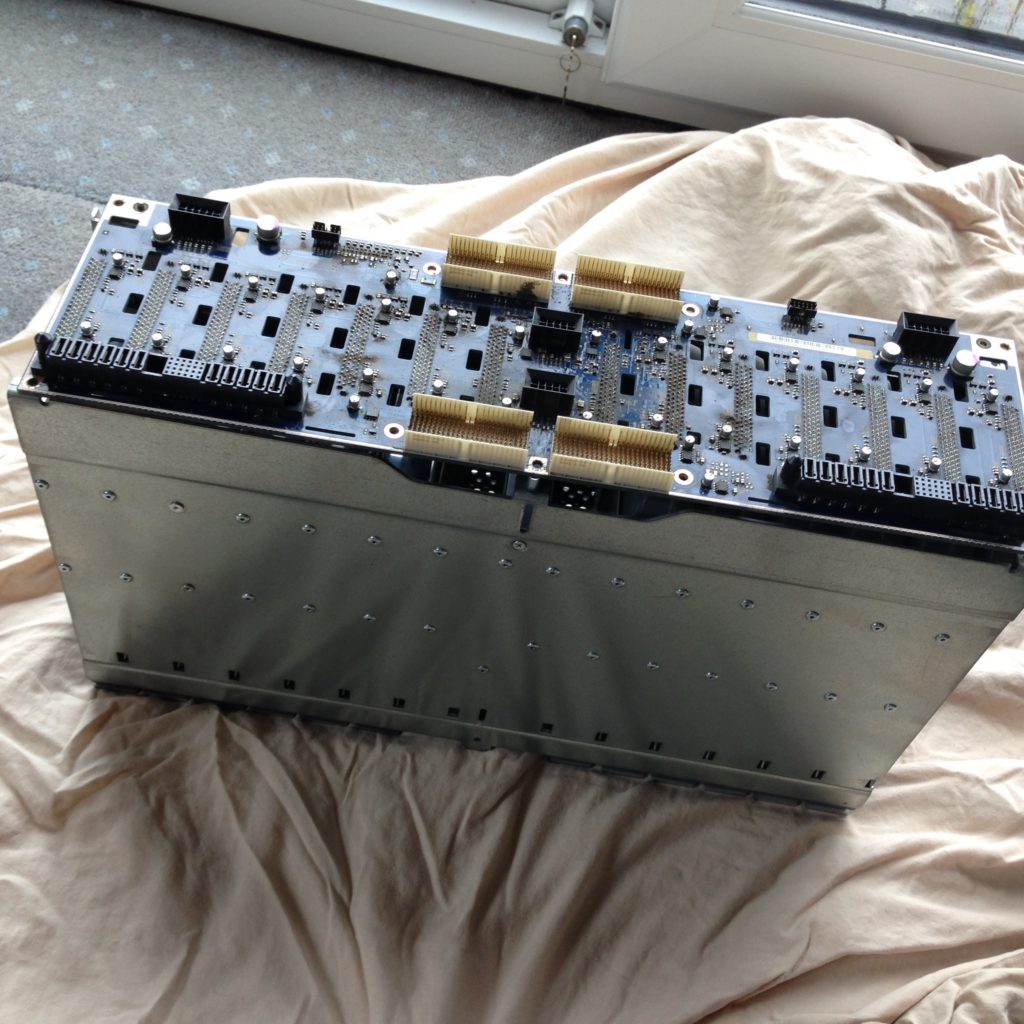
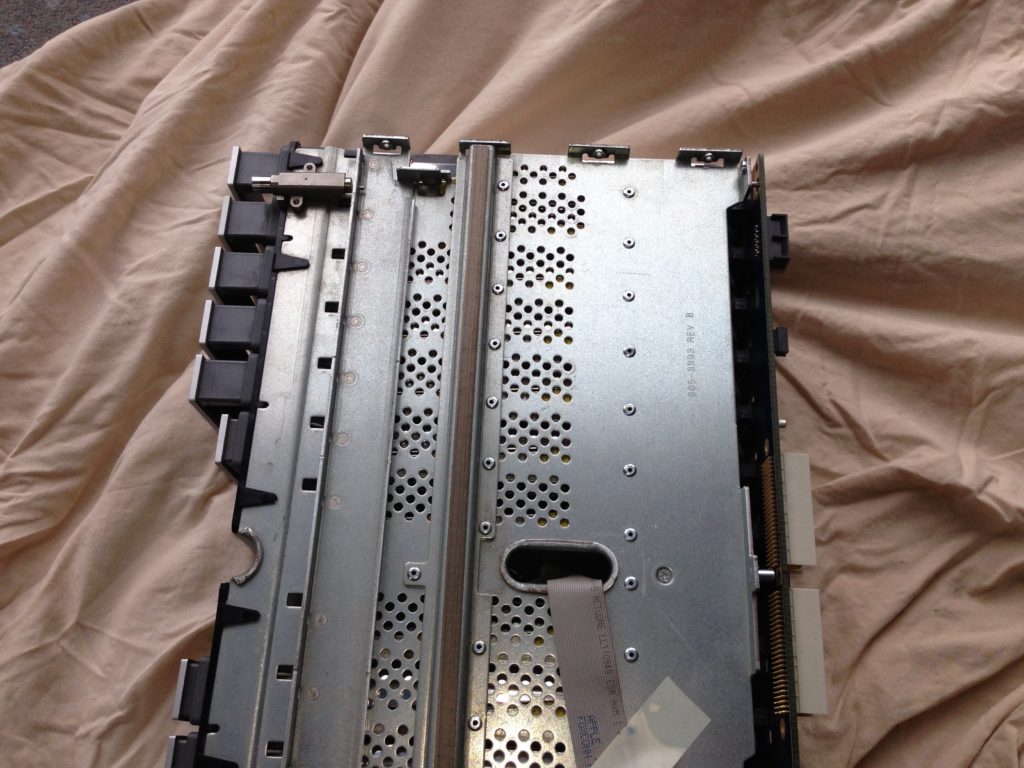
Below you can see the hard drive cage itself.
The cage is made from heavy gauge steel with an all riveted construction and the hot swap PCB at the rear.
The connections are not standard SATA connections (or even SAS or IDE/PATA) and so for a PC build the circuit board must be removed.
The methodology pursued by Alex is admirable. He intends to make 14 individual PCBs for the caddies and a new PCB for the rear so that SATA drives can be utilised and to make all the original LED indicators work. This is a huge task and once done we intend to work together so that these replacements can be made available to others.
However, I know that everyone will look at this case and may have a different idea or aim. For my own case I do have another aim and I’ll talk about that in my next post…..
