
Instructions download:Instructions for Quicksilver I:O kit 1 and 2
(note while these instructions are for the later model g4s, the fitting procedures are the same for all models).
The Kits
These kits are designed to fit the G3 PowerMac tower cases (PowerMac G3 Blue and White) and the “Graphite” cased G4 models having 4 rear slots. The models concerned are the: Power Mac G4 (PCI Graphics); Power Mac G4 (AGP Graphics) and Power Mac G4 (Gigabit Ethernet). These models look like this:
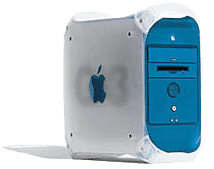
PowerMac G3 Blue and White
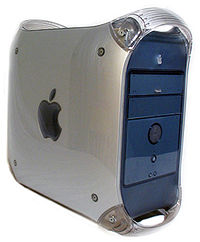
Early PowerMac G4
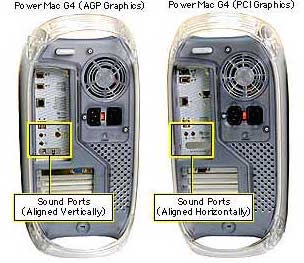
Early “4 slot” type g4 towers
Contents
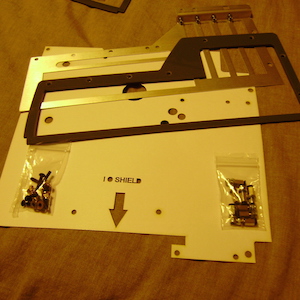
The kits contain: New mATX IO plate in brushed and folded aluminium designed specially for the G4 case; plastic outer trim; 6 x long black M3 and 2 x short M3 screws and 8 x special combined washer/nut for fixing new IO shield into place; Paper drilling template for indicating where to drill door for new standoffs; 8 x 10mm M3 standoffs each with nyloc nut, 2 washers and M3 screw.
About the kits
These kits have been developed in house at the laser hive to make converting an old G4 or G3 case simple.
Fitting is easy – you remove the original plastic trim from the G3 or early G4 door. Remove the original standoffs. Drill out the original rivets holding the original IO plate in place, replace the original plate with our custom mATX IO plate and trim piece and then use the drilling template to mount new standoffs.
The process is described in detail here (note while the instructions are for the Quicksilver product, the process for the G3/G4 is exactly the same).
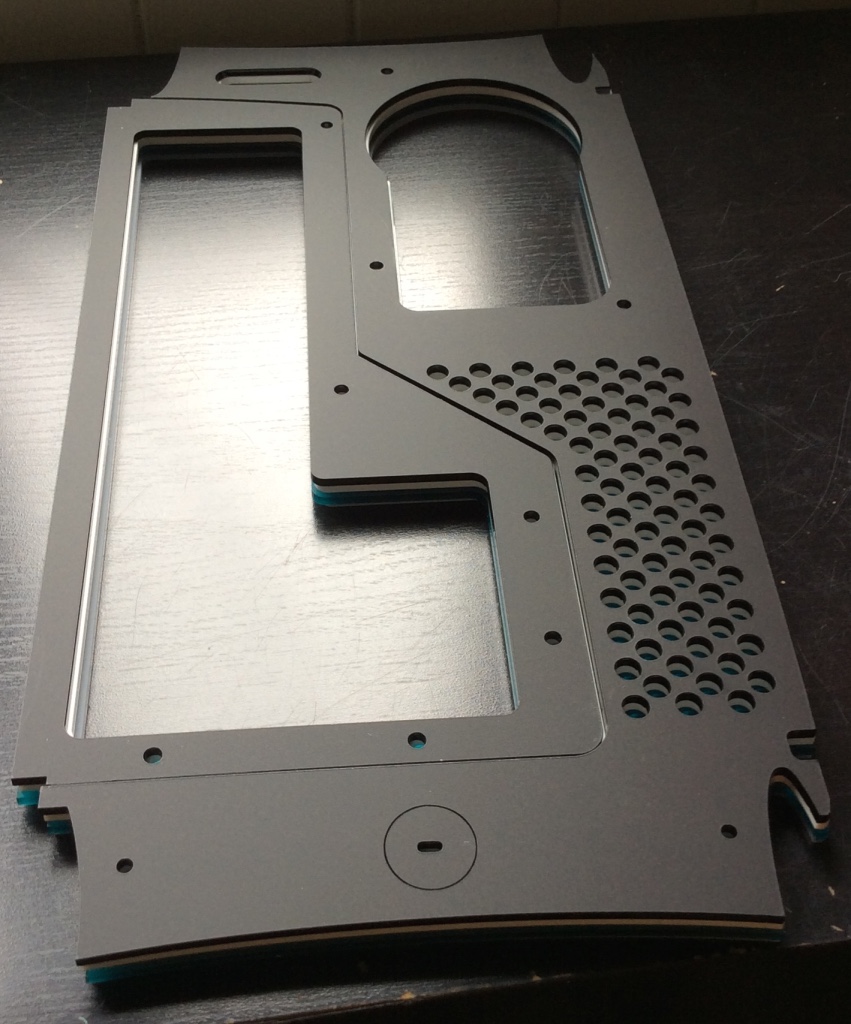
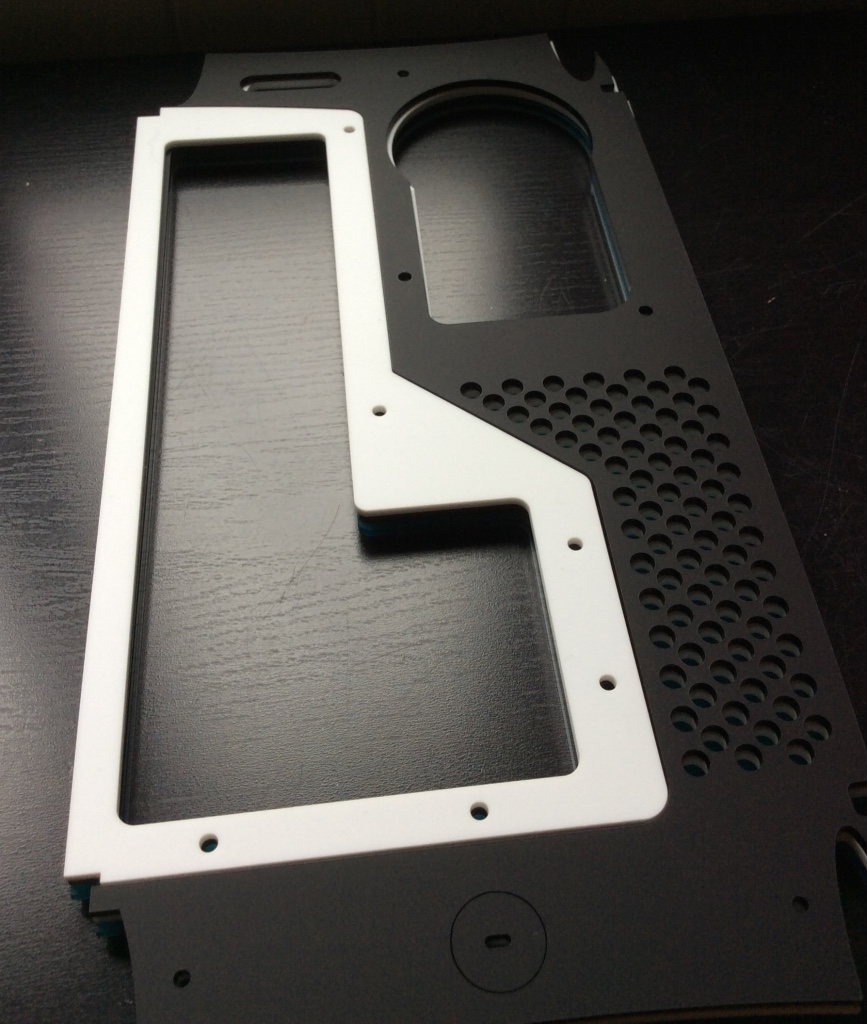
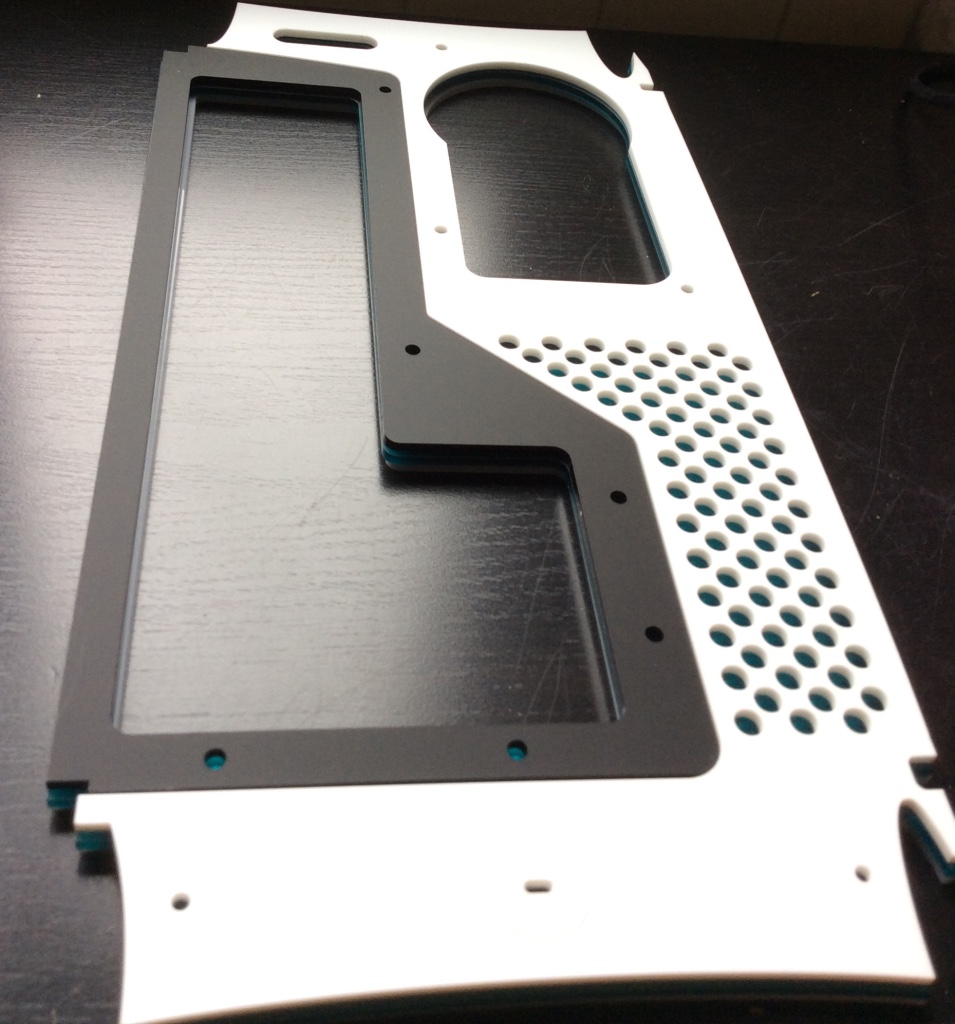
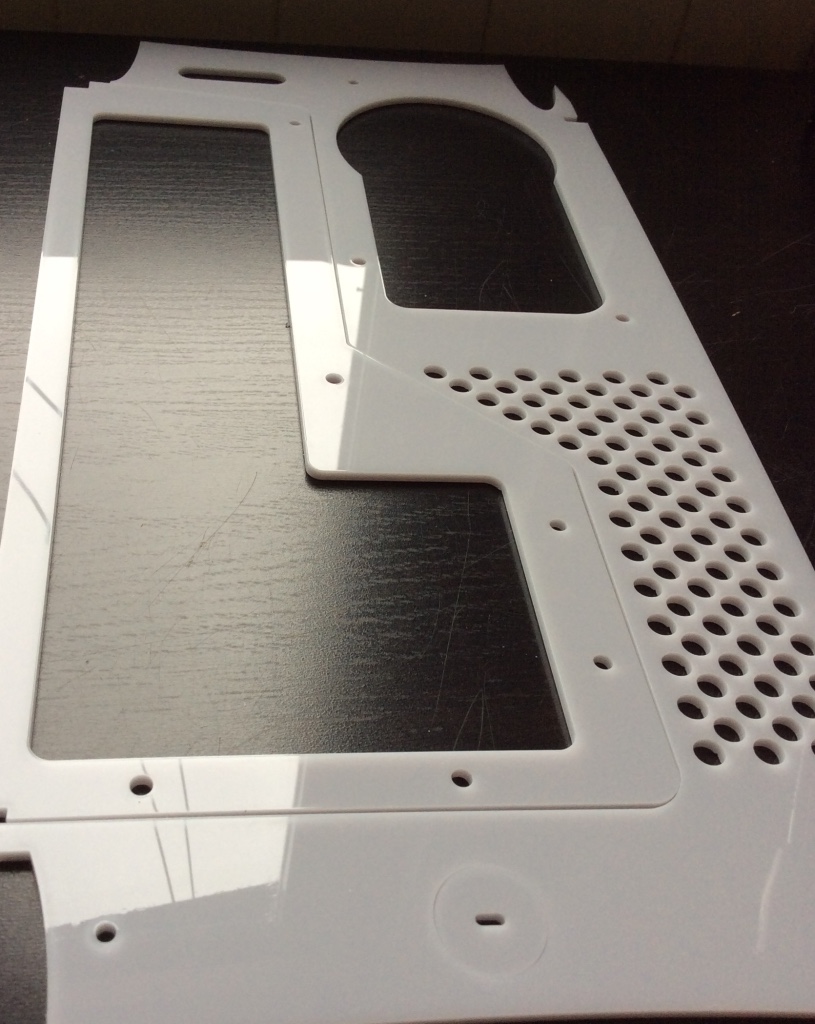
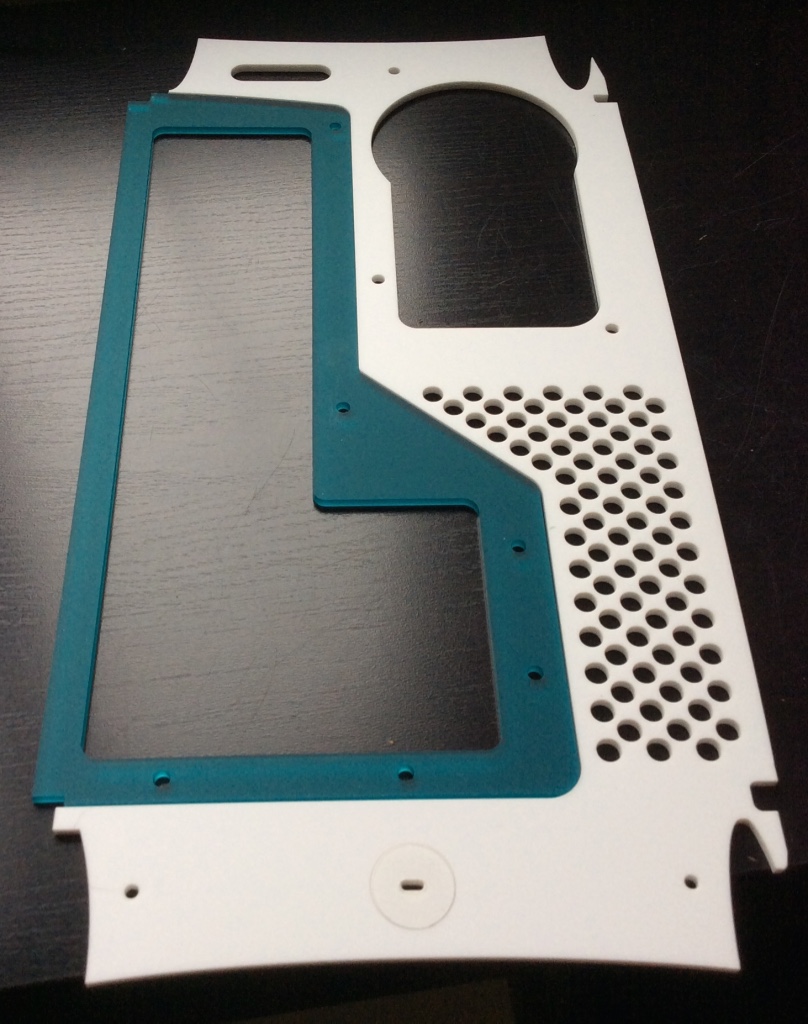
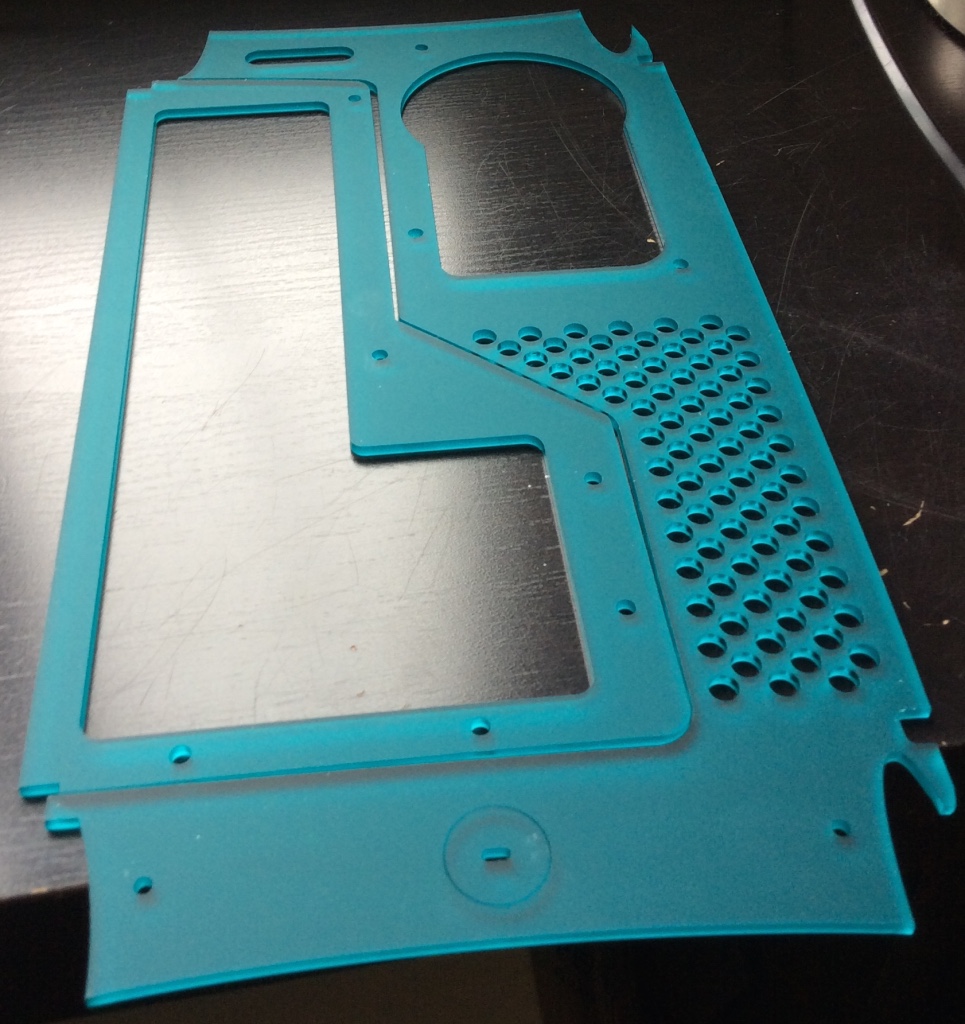
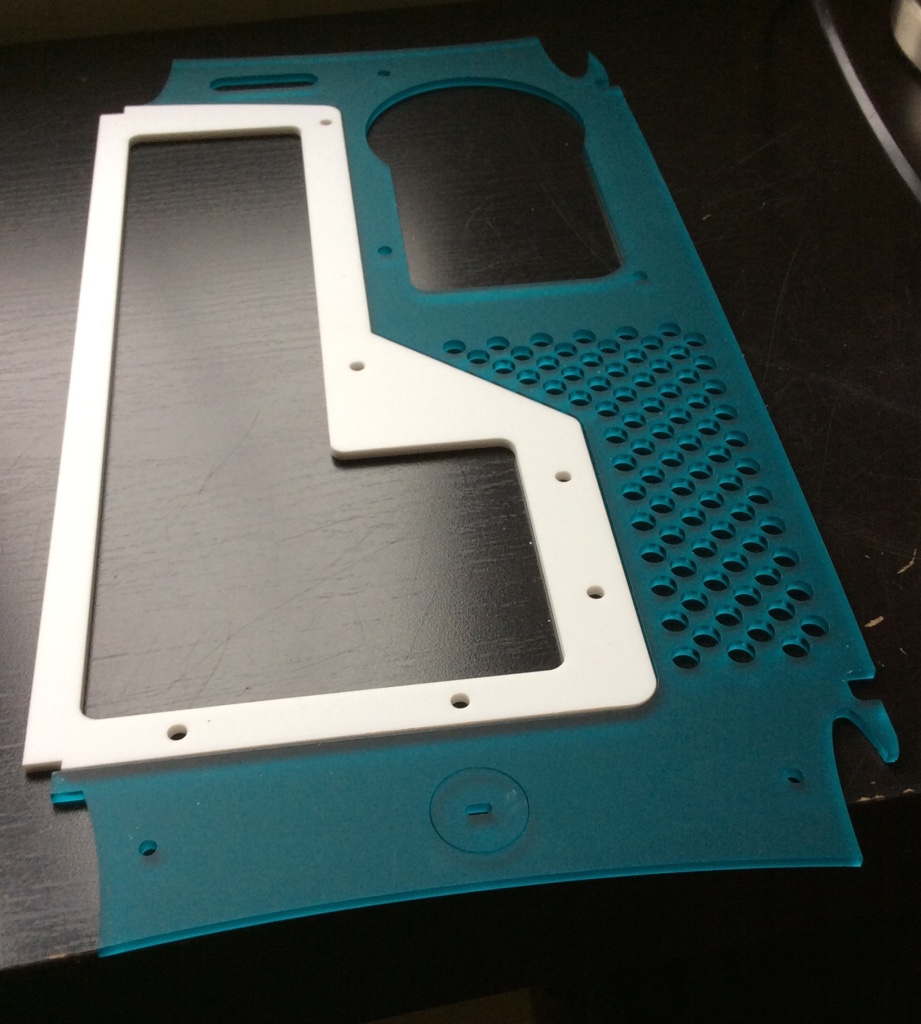
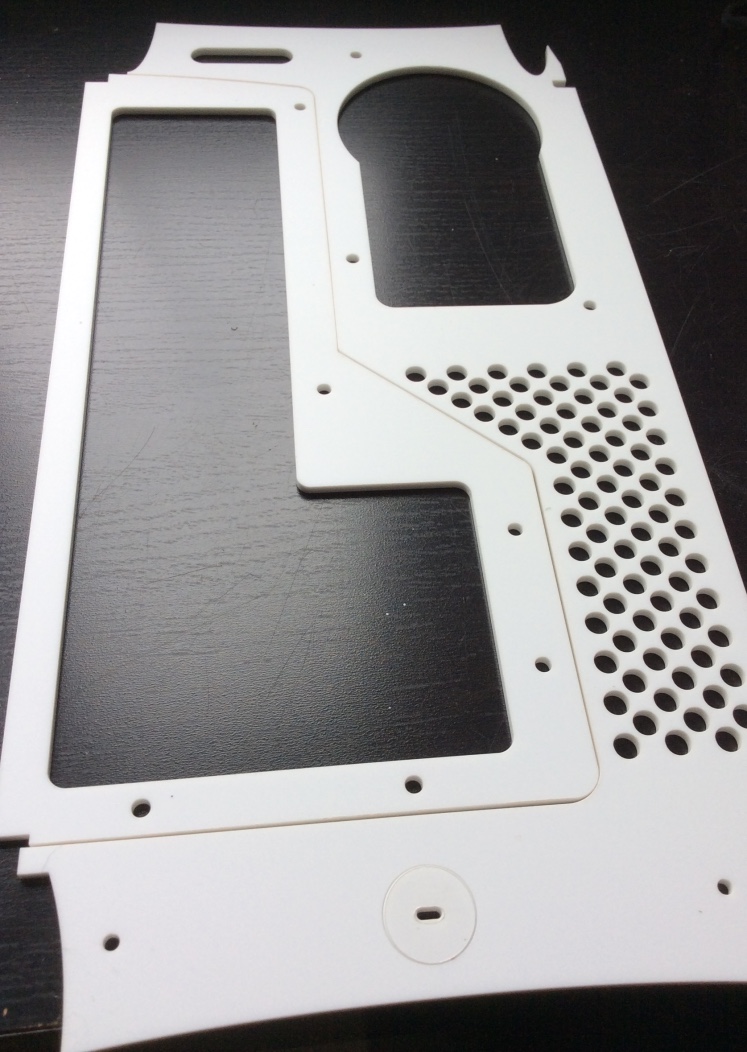
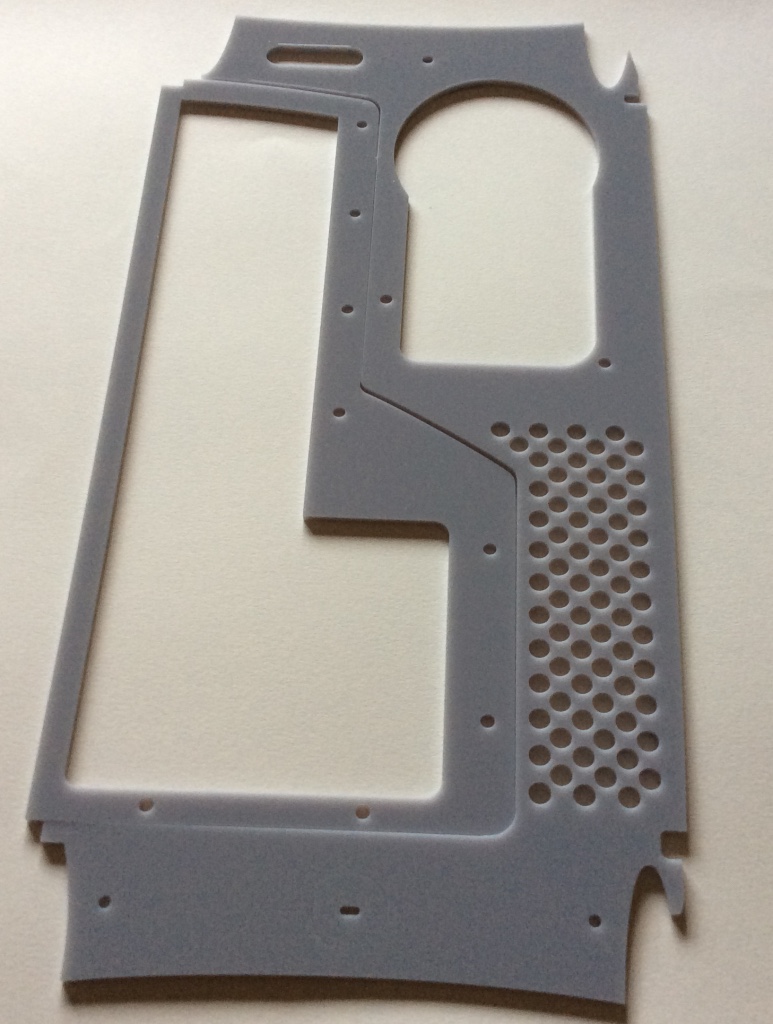
As standard the kit comes with a light grey plastic outer trim but any standard acrylic sheet colour is possible to order.
The aluminium IO plate is fitted with long secure threaded inserts for fixing all your PCI-E cards in position.
The inner and outer plates are joined together by countersink socket head screws which pass through existing rivet holes within the G4 rear plate. The plastic itself is not countersunk as we realise that you might instead wish to use different fixings – however if you do decide to countersink the plastic this is easily done with an over-sized drill bit.
These kits allow a neat finish so that even if you are not the most skilled with a drill or a dremel you can achieve great looking results. The position of the I/O cut-out is at the correct placement to allow the PCI slots to be used perfectly. The kit is comprehensive providing everything to ensure that new motherboard standoffs are secured in exactly the right position for a trouble free conversion to PC parts.
£35 plus postage.
A further option is a totally new rear plate for the right hand side that allows you to easily fit a larger variety of power supplies without having to try and cut up the original G3/G4 plastic panels these panels cost £15.
If you want a colour other than light grey (this colour can be seen by referring to the two pictures in the gallery showing some Quicksilver panels) or if you want a different or mixed colour combination (see the other gallery pictures) then we can quote for this – just email us at in**@**********ve.com and we can make a special order for you.
Please note that if you do decide to buy the optional right hand side that it is available in one of two styles – “traditional” or “open”. The traditional style is for use with old style Power supplies with a rear mounted fan, while the open style is for modern ATX PSUs and allows a greater degree of area for the PSU to exhaust air from [an important consideration for the G3/G4].
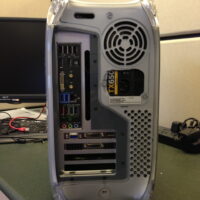
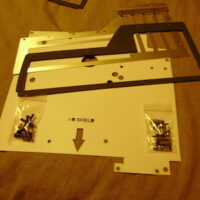
The kit it self is really good and it really helped me with modificating case itself worth every penny